
Hello everyone, in this article I’ll show you how to host an application that runs on the localhost to the internet without deploying by using ngrok.
What is Ngrok?
Ngrok is a software that allows us to open our applications that run on localhost on our own computer, over the cloud, under the xxx.ngrok.io sub-domain.
Let’s say we have an application running on localhost:8080, we can use ngrok to access this application from any other machine (and location — without having to connect to the same network), without any network restrictions (firewall, etc.) like https://3892d8dd9002.ngrok.io/ We can reach it via a url and perform our relevant test-cases.
Ngrok creates a “private connection tunnel” and by doing that it allows us to reliably provide the relevant communication between machines.
Ngrok performs this process using a technique called HTTP Tunneling.
What is HTTP Tunnelling?
HTTP Tunneling is a technique that allows us to establish a network connection between two computers according to certain restrictions. In other words, Firewall, Proxy etc. It allows us to establish a network connection directly between two machines without network restrictions in effect.
This technique is usually applied together with the HTTP Connect method. With the HTTP Connect method, a request is forwarded to the relevant reverse proxy, and a request to connect to the machine at the desired location is sent. If this request is approved, then a network connection is established over TCP streams and data transfer is provided.
After briefly talking about the HTTP Tunneling technique and ngrok, we can now look at how we can use ngrok with a simple example.
Hosting An Application On The Internet With Ngrok
First, let’s create a simple .net-core application and run it locally. You can use the following CLI commands to build and run the application.
- To create the application (webapi application):
dotnet new webapi --name NgrokDemo
- To run the application:
cd NgrokDemo && dotnet run
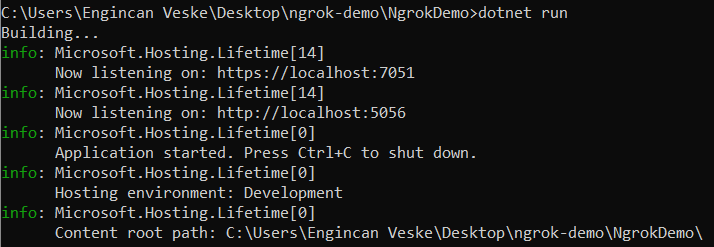
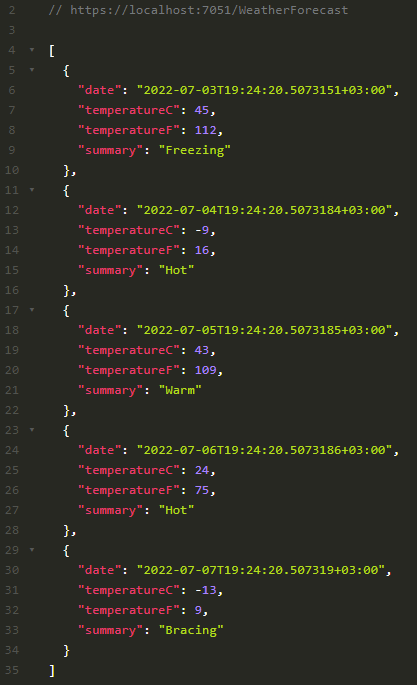
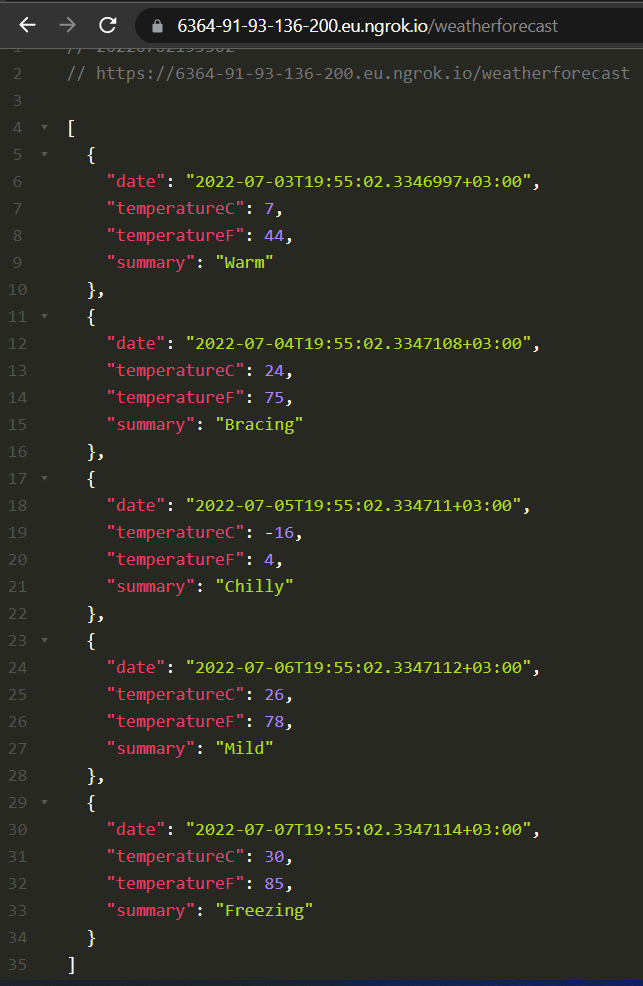
Our application is currently standing at https://localhost:7051 and we can see a simple list response by making a request to the /WeatherForecast endpoint.
Now that we have created and installed our application, we can now make the necessary configurations on the ngrok side and access our application via the ngrok.io subdomain.
For Ngrok-related configurations, we can perform operations in the following order:
1-) Installing Ngrok:
I will perform the related installation via the command line using Chocolatey on Windows. You can find the installations for other operating systems here.
choco install ngrok
With this command, ngrok should be installed on our computer. We can run ngrok -v to check.
2-)Register to Ngrok.com:
While defining Ngrok, I mentioned that it creates a “private connection tunnel”, in order to achieve this, we need to register on the ngrok.com site and get an access-token from the dashboard. We will use this access-token to open a private HTTP Tunnel for our application.
Let’s register at https://dashboard.ngrok.com/signup and then navigate to https://dashboard.ngrok.com/get-started/your-authtoken to get the access-token.
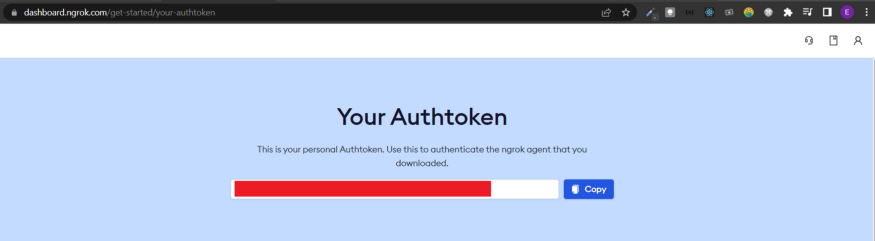
After obtaining the corresponding access-token,
ngrok config add-authtoken ACCESS_TOKEN
With the command, we save our access-token in the configuration file at “AppData/Local/ngrok/ngrok.yml”.
Now we can open our application to the outside. For this, we just need to run the following command:
ngrok http https://localhost:7051/
I would like to mention an important point here. If your application is running on https, you need to give the full address as I mentioned in the above command. If it is running on http, you can only specify the port. (like ngrok http 7051)
After running this command, you should get an output similar to the one below.
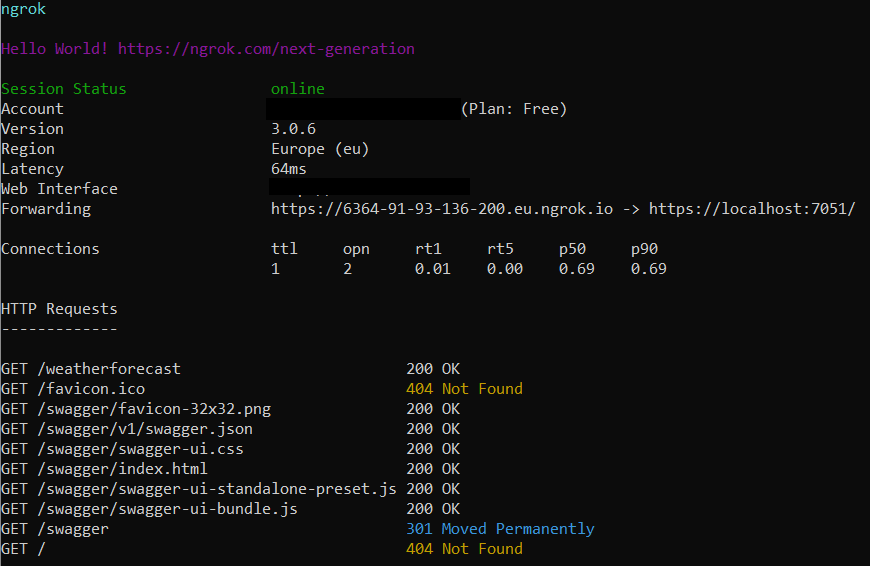
Here, together with the URL you have seen in the forwarding section, we can now access our running application from a location we want.
As we can see from the screenshot above, we can now perform the necessary test operations by sending a request to this address while the application is running in my locale.
Thanks for reading, see you in the next article.
